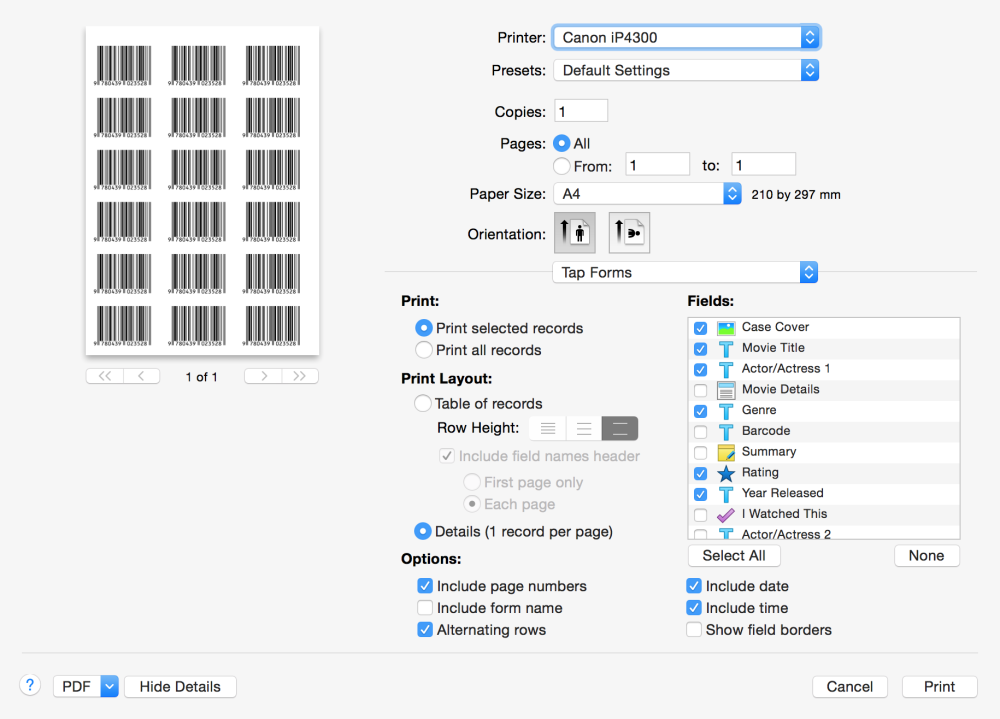
Tap Forms can now generate and print 24 different kinds of barcodes.
The following barcode symbologies are supported:
| Coda bar | Code 39 modulo 43 | Facing Identification Mark | Pharmacode One Track |
| Code 11 | Code 93 | Interleaved 2 of 5 | POSTNET |
| Code 128 | EAN 13 | ISBN | QR Code |
| Code 39 | EAN 2 Supplement | ISMN | Standard 2 of 5 |
| Code 39 Full ASCII | EAN 5 Supplement | ISSN | UPC A |
| Code 39 Full ASCII modulo 43 | EAN 8 | MSI (Modified Plessey) | UPC E |
To configure your barcode:
- Click on the Form button in the toolbar.
- Click the Fields tab.
- Find the field you would like a barcode generated for and click on it.
- Click on the Display as Barcode checkbox in the field’s properties pane down below.
- Click on the Edit Barcode button.
- Select a barcode symbology. You can enter sample text to see how it will look.
To display your barcode:
- Follow the instructions in the Layout Designer topic to create a new custom layout.
- Drag your barcode field into your custom layout.
- Resize your barcode to fit the area required.
A great use of the new labels feature is to put a barcode onto a label and print them out to stick them on anything you want barcodes on.
To print your barcodes:
- Select the custom layout which contains your barcode.
- Select the Print command from the File menu.
- Click the Print button.
If you’re printing just a single label on one page, select the Print selected records option. If you want to print different barcodes for each label, select the Multiple records per page option for your label and then select the *Print all records” option on the Print sheet.
Last modified:
Aug 03, 2016
Need more help with this?
Don’t hesitate to contact us here.


