For text and numbers fields, the typical input is through basic entry via the keyboard. However, for fields with long or specific numbers, titles, labels, etc., pick lists offer the convenience needed to quickly categorize your data. With pick lists, you can create a set of options that, when one is selected, can populate a field. This eliminates the need to reference other records for spelling or previously created options.
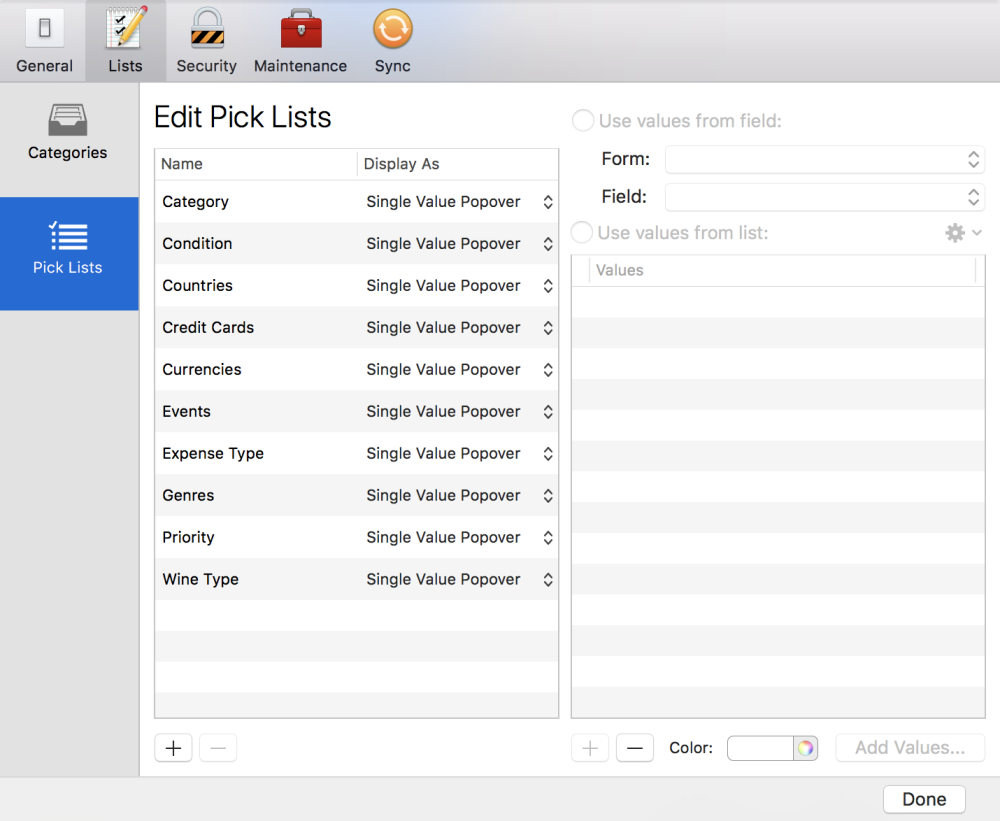
Pick lists are managed in the Preferences under the “Lists” tab, either accessible from the Tap Forms 5 dropdown menu in the macOS menubar or by navigating to Tools > “Edit Pick Lists…”.


Pick lists, which display in the small white area next to a field in a record, are assigned values either from list or from field. From list values are ones that you’ll create based on what’s relevant to your field, like a set of numbers or the various genres in your movie library. From field, on the other hand, uses values from another form’s fields to assign values to the pick list.

There are six different styles of Pick Lists under the “Display As” column heading.
- Single Value Popover – This is the default style where Tap Forms will display a popover view that allows you to select a single value.
- Multi-Value Popover – A multi-value pick list will allow you to select more than one value to assign to a field.
- Combo Box – This gives you a popup button that also has a type-ahead text field as part of it. You can type a value and Tap Forms will fill in the rest or you can click the arrow (or press the down arrow key on your keyboard) to display a list of possible values.
- Popup Button – This gives you a popup button that contains the list of values available. You can select a single value from the popup button.
- Checkbox Button – This provides a set of checkboxes in a grid format. The grid is determined by the “Checkbox/Radio Columns” property in text and numbers fields and is a great tool for displaying different options in different forms in the same way.
- Radio Button – This is similar to the checkbox button option, but will instead display radio buttons.
After you’ve created your pick list, you’ll need to assign it to the appropriate text or number field. In the Forms sidebar under the Field tab, select the field and navigate to the bottom of the sidebar. There, you’ll see a dropdown menu to select your pick list. Pick lists can be assigned to one or more fields.
Use values from list:
To add a new value to the selected Pick List, click the + button beneath the values list.
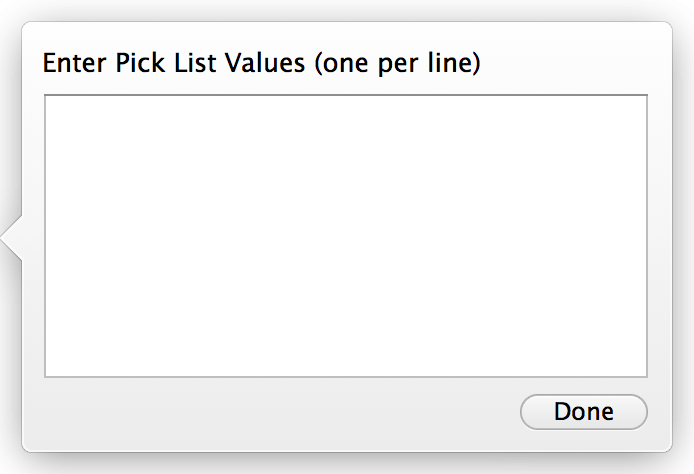
If you have lots of values to add to a Pick List, it would be much quicker to click the Add Values… button and type your new values into the popover that is displayed. You can even paste values into the popover if you already have a list of values on your clipboard.
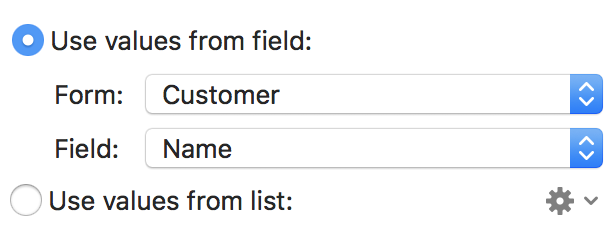
Use values from field:
You can also choose to get the values for your Pick List from another form’s field. To do that, click on the Use values from field radio button, then select a Form and a Field.

Whenever you add records to the selected form and put values into the selected field, they will become available to you in this type of Pick List.
To associate a Pick List with a field:
- Click the form you want to edit.
- Click the Form button in the toolbar.
- Click the Fields tab.
- Click the field that you’d like to assign the Pick List to.
- Scroll to the bottom of the properties for the selected field and click the Pick List popup button.
- Select the Pick List from the popup button.
You will now see the pick list button appear next to the field in the Default Layout, your custom layouts, and the multi-column list view.
Need more help with this?
Don’t hesitate to contact us here.


