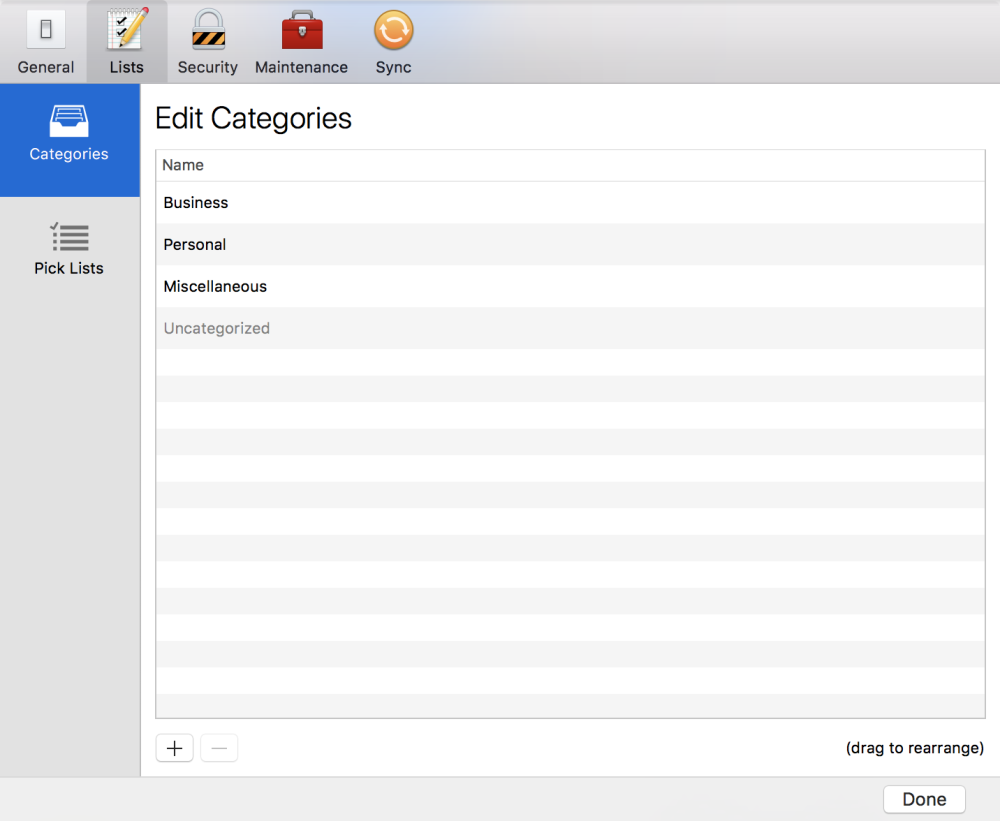
Though forms tend to be the overarching categorization tool in Tap Forms, it’s also important that you are able to find them as easily as possible. With categories, your forms live in a basic organizational structure that you create – still in the sidebar, but each classified alongside similar forms.
To access the categories pane, you can either:
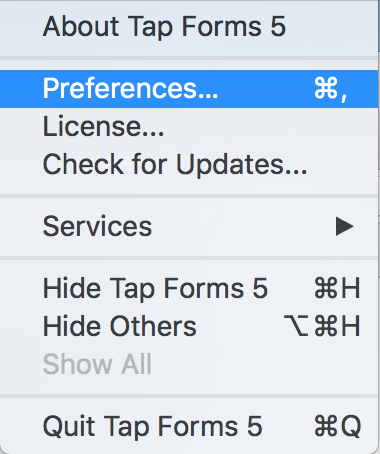
- Click Tap Forms Mac 5 in the menubar > Preferences > Lists > Categories
- Click Tools in the menubar > Edit Categories


Adding and Deleting Categories
When you’re in the categories menu, you’ll add categories via the + icon near the bottom of the window. Once clicked, Tap Forms will prompt you to enter a title; when you’re finished, press the Return key to save the category. To rearrange categories you’ve created, drag one above or below another. This change will be reflected in the Forms sidebar.
Next to the + icon sits the delete (-) button, which will delete the currently selected category. This action will permanently remove the category from Tap Forms, but will not delete the forms associated with the category. In the event of an accidental deletion, you can simply recreate the category and re-add the forms.
After you’ve created forms, they’ll be added to the Forms List sidebar under the “Uncategorized” header. If you have other categories, you’ll see those options above “Uncategorized”.
When you have a form you’d like to add to a category, you can go about that in two ways. Either:
- Tap on the form and open the Form sidebar. Below the name of the form, select your category from the dropdown menu
- If one or more forms already belong to the category in the Forms List sidebar, drag the form from “Uncategorized” to below the appropriate header.
Need more help with this?
Don’t hesitate to contact us here.

